
Check the skin
Grain can add texture, but the cheeks and forehead should not look dirty or speckled.
Watch the background
The gray background shows grain quickly. It should look intentional, not like compression noise.
Look at the eyes and hair
Eye detail and hair edges should stay clear after grain is added.
How to use it
Run film grain review in this order
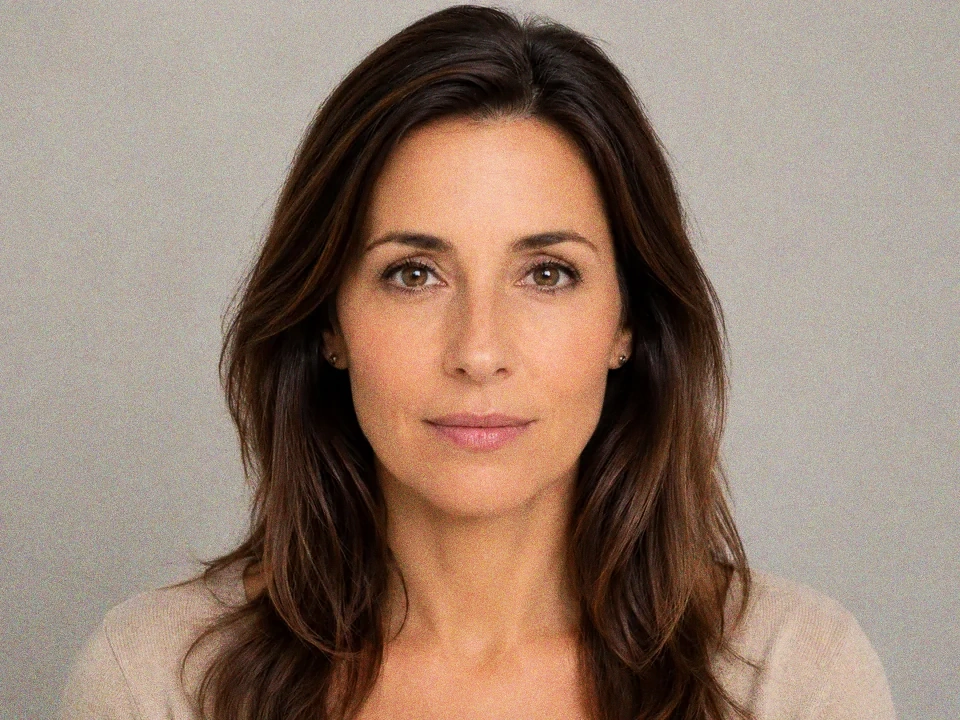
Use the portrait example
Start with the reference image on this page. The same checks apply when you compare a portrait with skin, hair, eyes, and a plain background.
- In this example, the cheeks and forehead are the first grain checks.
- The gray background should show even texture, not random blotches.
- Around the face, check hair edges, eyes, lips, and sweater texture.
Move film grain in small steps
Film grain adds visible texture. Small moves help the portrait feel less digital without making skin dirty or the background noisy.
- Add a little grain if the portrait feels too clean.
- Use a smaller move if skin starts looking dirty.
- Reduce grain if the gray background or dark hair edges look noisy.
Use the slider on important areas
Drag across the parts people read first, then check the areas most likely to break.
- Drag over the cheeks, forehead, and nose first.
- Move across the gray background and darker hair edges.
- Check the eyes, lips, and sweater before keeping the edit.
Read the result cards
The cards summarize the size and direction of the change. Look back at the preview to judge the visible result.
- If texture shows a big change, go back to skin and background.
- Look back at hair edges, eyes, lips, and sweater texture.
- Keep the edit only if the grain feels intentional and even.
Examples
Common film grain fixes
Skin looks dirty
The portrait gains texture, but the cheeks and forehead start looking speckled.
- Use a smaller grain amount.
- Check the cheeks, forehead, and nose.
- Look back at the eyes after reducing it.
Skin can have light texture without looking dirty.
Background turns noisy
The gray background shows grain more strongly than the face.
- Reduce film grain.
- Check the top and side background areas.
- Compare the background with the hair edges.
The background should have even texture, not noisy patches.
Hair edges get rough
Grain adds style, but darker hair edges start looking harsh.
- Use a smaller grain amount.
- Check both sides of the hair.
- Compare the hairline with the skin beside it.
Hair should keep shape without rough speckled edges.
Result checks
What to inspect after film grain changes
Skin
Check the cheeks, forehead, nose, and chin for dirty-looking specks.
Background
Check the gray background for even grain and blotchy noise.
Eyes and lips
Check eye highlights, eyelashes, lip edge, and small facial detail.
Hair and sweater
Check dark hair edges, loose strands, and sweater texture.
Film Grain effects
What film grain changes
Small grain
- The portrait gains light texture.
- Use it when the image feels too clean.
- Check cheeks, forehead, and gray background.
Strong grain
- Specks can become distracting.
- Use it only for a clear style choice.
- Check skin, background, hair edges, and sweater.
Skin
- Fine specks can read as dirt or noise.
- Reduce grain if the face looks rough.
- Check cheeks, nose, forehead, and chin.
Plain background
- Grain is easiest to see on flat gray areas.
- Use it to judge whether the texture is even.
- Check the top and side background areas.
Decisions
How to act on the film grain result
Texture feels intentional
Keep the edit if skin, background, hair, and sweater all carry the grain evenly.
Specks distract
Reduce grain if skin looks dirty, the background gets noisy, or hair edges turn rough.
The image is already noisy
Use noise reduction first if the portrait already has unwanted specks before adding grain.
Common issues
What can make film grain review misleading
Texture can look stylish too quickly
A stronger grain look can feel intentional before skin and background are checked.
Skin shows dirty specks
Cheeks and forehead reveal when grain starts looking like noise.
Plain backgrounds exaggerate grain
The gray background can make the added texture look heavier than expected.
Dark hair edges can get rough
Grain can make darker strands and hair edges look harsh.
Try it