Start here
What to check first
After you upload the image pair, read these three parts first. They keep the result grounded in the actual images.
What changed globally?
The estimated settings summarize broad exposure, contrast, saturation, hue, color temperature, green-magenta tint, sharpness, blur, and vignette changes.
Where did the edit appear?
The maps show brightened areas, color movement, sharpness changes, and parts the broad estimate does not fully explain.
Can this pair be trusted?
Confidence tells you if the original and edited images line up well enough for a useful readout.
How to use it
Run the tool in this order
Prepare the image pair
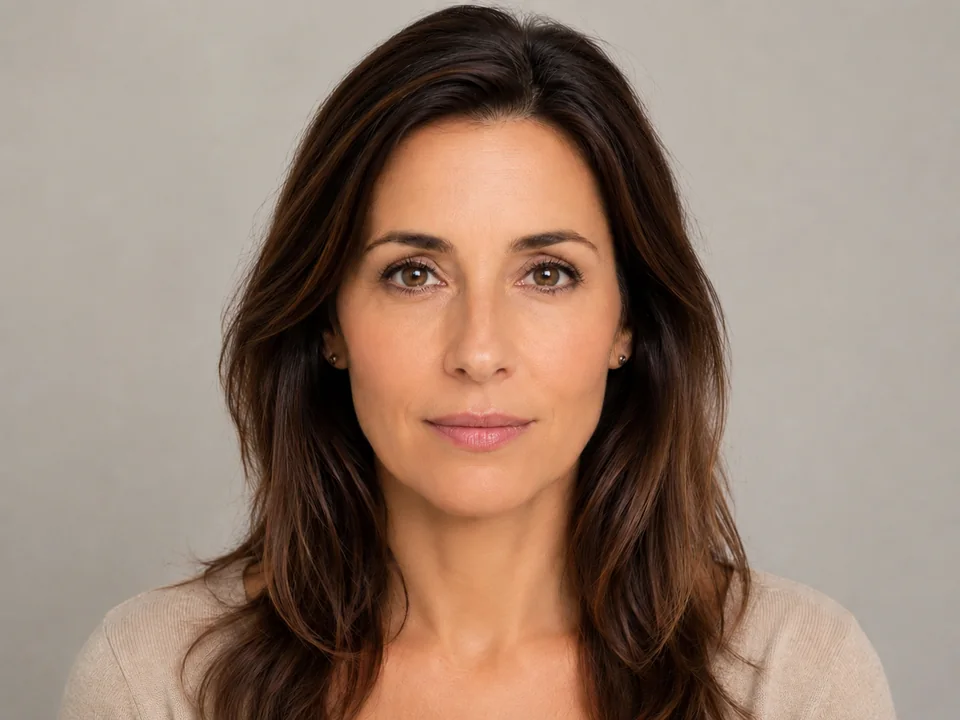
Choose an original image and an edited version from the same photo, render, screenshot, or export set.
- Best case: same crop, same subject, same size, same camera position.
- Okay case: same scene with a small resize or export change.
- Poor case: new pose, new crop, moved object, different lighting, or a different image.
Upload the original image first
Place the unedited reference in the Original slot. This gives the tool a baseline for every estimate.
- Use the file closest to the source image.
- A camera original, clean export, old screenshot, or reference render works well.
- Do not use a screenshot of the edited image as the original.
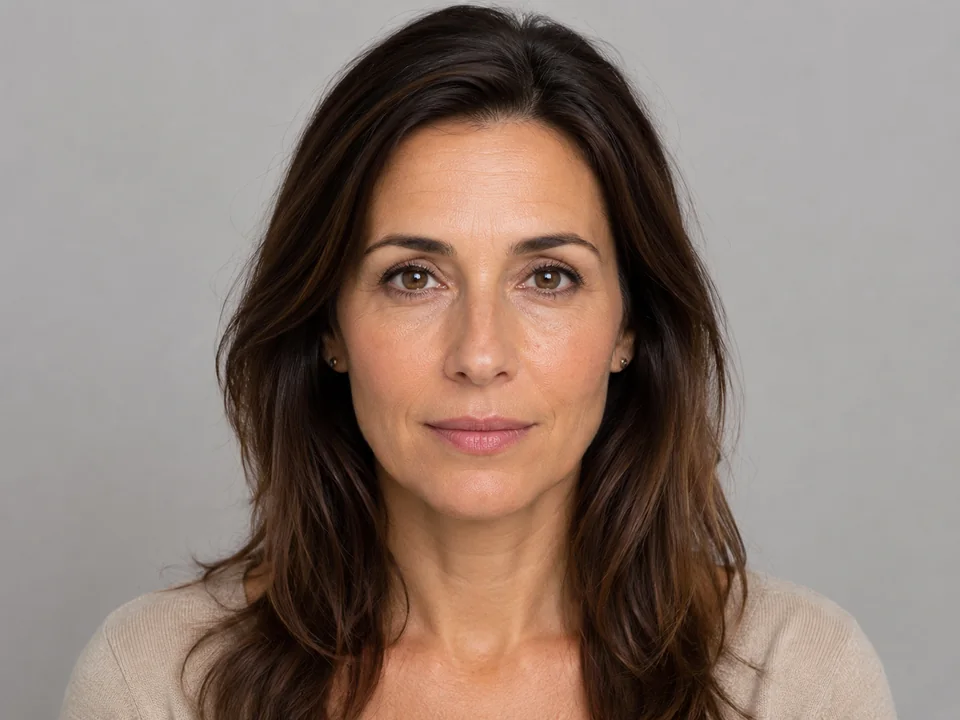
Upload the edited image second
Place the retouched, graded, sharpened, brightened, or preset-exported version in the Edited slot.
- Use the final version you want to analyze.
- Keep the same crop if possible.
- If the edited file is compressed, the maps may show compression texture as extra change.
Pick the analysis mode
Start with Balanced for most pairs. Move to Fast for quick checks or Advanced for difficult images.
- Fast: quick reading for simple color or brightness edits.
- Balanced: normal choice for photos, product images, and screenshots.
- Advanced: useful for subtle edits, noisy exports, or image pairs with many small changes.
Run the analysis
Start the detector and let the browser calculate the estimate locally. The page will fill in confidence, settings, maps, and LUT output.
- Keep both images loaded during the analysis.
- Large images may take longer because the browser has more pixels to inspect.
- Your image data stays in the browser during this process.
Read the result panels in order
Use this order: confidence first, estimated settings second, maps third, LUT output last.
- Confidence: checks if the pair is suitable for analysis.
- Estimated settings: shows the broad edit parameters.
- Diagnostic maps: reveal local edits, mismatches, and areas the estimated settings cannot fully explain.
- LUT output: tests the estimated color grade on another image.
Result panels
What to check after the analysis
Confidence and fit
Start here. A strong fit makes the estimated settings more useful. A weak fit usually means the pair changed too much.
Estimated settings
Read the broad edit parameters: exposure, contrast, saturation, hue, color temperature, green-magenta tint, sharpness, blur, and vignette.
Diagnostic maps
Use maps to locate brightness shifts, color shifts, softened detail, sharpened edges, retouched areas, and alignment problems.
LUT test
Use the generated LUT as a color-grade test. It is most useful after confidence and maps look reasonable.
Panel terms
Term explanations
Estimated settings
The tool's best read of broad exposure, contrast, saturation, hue, color temperature, green-magenta tint, sharpness, blur, and vignette changes.
Diagnostic maps
Visual maps for brightness change, color movement, sharpness change, residual difference, and reconstructed estimate.
Confidence
A practical quality label for the image pair. Strong confidence means the pair lines up well enough for a useful estimate.
Residual
Areas the broad edit estimate cannot fully explain. These areas can point to masks, retouching, object changes, or crop mismatch.
3D LUT
A color transform file. Use it to test the estimated color grade on another target image inside the browser.
Decisions
How to act on the result
Same scene, same crop
The two images line up, and the marked areas match what you can see. Use the numbers as a starting point to recreate the edit.
Local edits appear
Check the highlighted spots by eye. Faces, labels, skies, and object edges often show brush work, masking, or cleanup.
Pair mismatch
Use a better-matched image pair. Large crop, pose, lighting, subject, object, or camera changes can dominate the result and make it hard to interpret.
Common issues
What can make the result look wrong
Different crop or position
A moved subject, new crop, or changed camera position can dominate the analysis. Try a pair with closer alignment.
Mostly local retouching
Masks, clone work, background cleanup, and object removal often show up in residual maps. The broad settings will only explain part of the edit.
Compression changed the pixels
A heavy JPEG or WebP export can add noise and soften detail. Check compression quality if the images look close but the maps look busy.
The image has limited color range
Very flat, dark, bright, or low-color images can make hue, tint, and LUT estimates less stable.
Try it