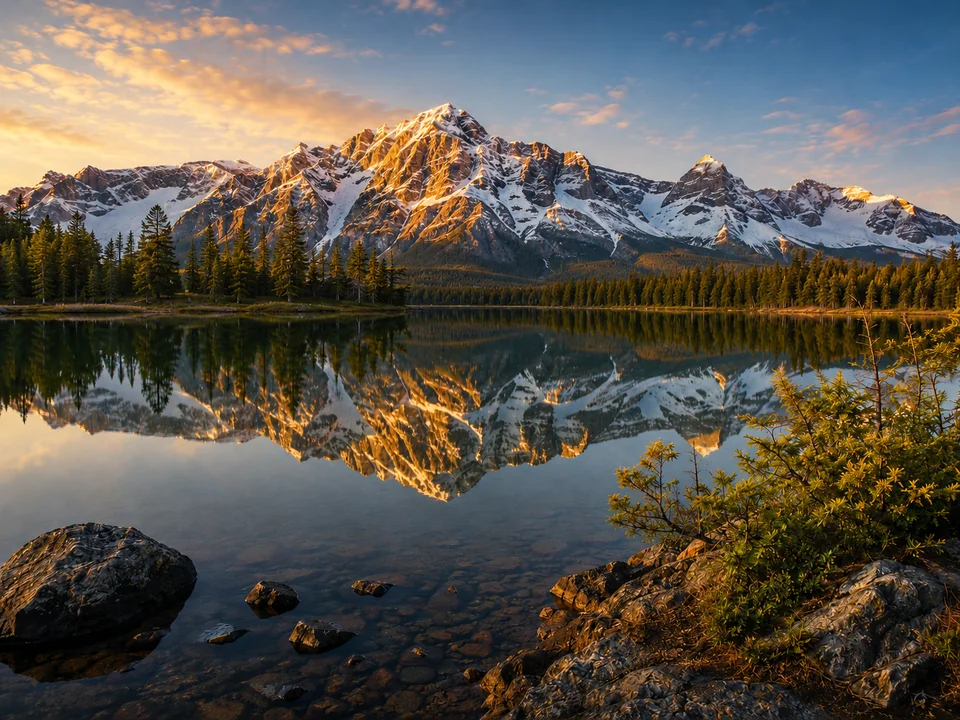
Start with matching baseline and changed files from the same scene, layout, viewport, or export workflow.
Image diff checker guide
How to Use an Image Diff Checker
Pixel-level review for screenshots, compression exports, product edits, and small visual changes that need local difference metrics.
Pixel match96.1%
Changed pixels27,287
RMSE12 / 255
PSNR26.3 dB
Run Highlight Diff for changed-area detection, then confirm the result in slider, side-by-side, or overlay view.
Use threshold, changed pixels, RMSE, and PSNR as review signals. The final call still comes from the visible result.
Start here
Pixel review for exact changed areas
An image diff checker locates differences between two related images. It fits UI screenshot checks, product retouch review, compression export review, and small visual changes that are easy to miss in a slider.
The tool compares browser-decoded pixels on a shared canvas. A pixel counts as changed once the largest red, green, blue, or alpha channel delta exceeds the selected threshold.
Workflow
Diff review sequence
Load the baseline image first
Use the original, previous screenshot, or reference export as the baseline image. A clear baseline makes pixel-count changes easier to spot.
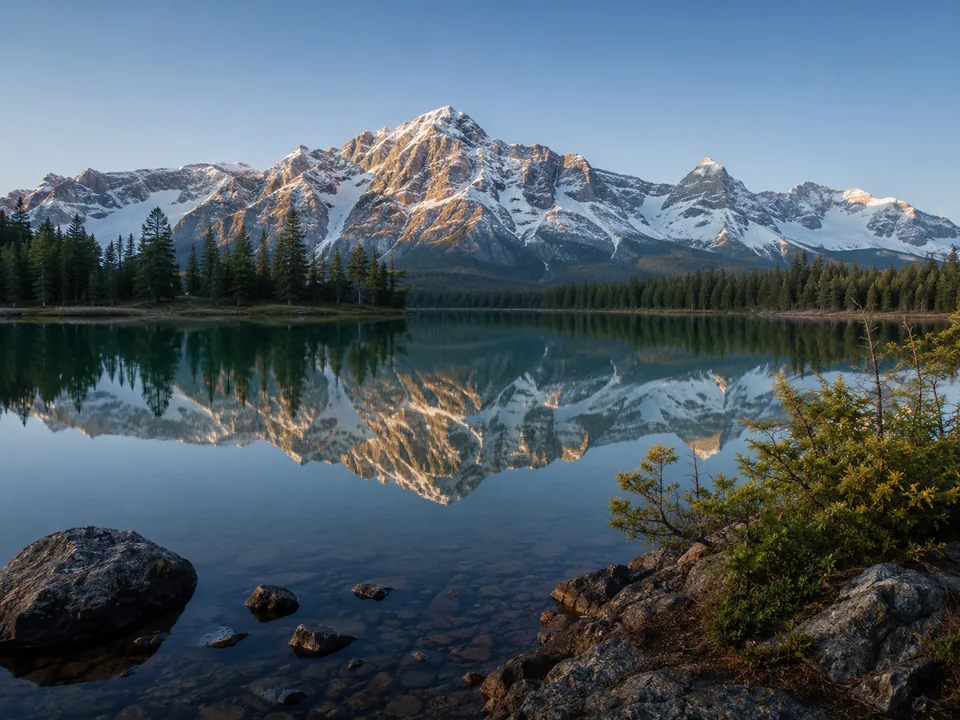
Load the changed image second
Use the new screenshot, edited photo, optimized image, or exported variant as the changed image. Mismatched dimensions need an alignment check before metric review.
Run Highlight Diff
Highlight Diff marks changed areas and fills the metric cards. Slider, side-by-side, and overlay views verify the highlighted result in visual context.
Adjust the threshold deliberately
Lower thresholds catch subtle changes. Higher thresholds ignore compression noise, tiny lighting shifts, and anti-aliasing. Update the diff after changing the threshold.
Threshold
How to choose a diff threshold
The threshold sets the channel-difference cutoff for changed pixels. No universal best value exists; match the value to the review task.
Strict UI checks
Try 8 for small screenshot changes that should be caught clearly.
For example: A button label changed from Save to Apply. An icon moved slightly, a thin border disappeared, or text spacing changed.
This value can also catch tiny rendering noise around text and edges.
Fine photo detail
Try 18 for image edits that are visible only after a closer look.
For example: A product shadow became softer, a face retouch removed a small mark, or fabric texture changed. A photo looks almost the same, but a highlight, reflection, or color patch was edited.
Good for close review.
Balanced default
Start with 32 for most comparisons.
For example: A landing page screenshot has both text and photos. A product image was exported again, or a preview from another tool needs a quick check.
Move lower for stricter checks, higher for noisier files.
Major visible changes
Try 64 to focus on obvious changes.
For example: A background was replaced, an object moved, a crop changed, or a strong color shift appeared. A JPEG or WebP export has small noise, but the review only cares about changes people notice fast.
Small text, fine icons, and hairline borders may no longer stand out.
Metrics
How to read the image difference metrics
Changed pixels
The number of comparable canvas pixels above the current threshold. The value depends heavily on threshold and alignment.
Changed pixel percent
Changed pixels divided by all comparable pixels. It helps compare two runs with different image sizes or crop areas.
Mean RGB delta
The average absolute RGB channel difference. Broad color or brightness shifts can show up here even with a small changed-area percentage.
RMSE
Root mean squared RGB error. Larger local differences affect RMSE more strongly than tiny scattered differences.
PSNR
Peak signal-to-noise ratio. Higher PSNR usually means the images are closer in RGB signal; lower PSNR means more visible or measurable error.
Common pitfalls
Diff results that need a second look
The images are slightly shifted
A 1 px shift can light up many areas, even if the picture looks almost identical. Open Overlay and check whether the main edges line up.
The image sizes do not match
Different widths or heights make the comparison less direct. Use the visual views to find the visible change, then crop or export matching sizes for cleaner metrics.
Compression noise shows up
JPEG and WebP exports often add tiny speckles across flat color and edges. Raise the threshold if the review is about visible edits.
Text edges changed during rendering
Fonts, icons, and vector edges can land on slightly different pixels after a browser, font, or export change. Use a low threshold for screenshot QA, then confirm the highlighted area by eye.
Use cases
Review tasks for this guide
UI screenshot regression reviewImage compression quality comparisonProduct photo retouch reviewBefore and after edit checksSmall layout or export differences
Try it
Open the tool after reading the guide
Load a baseline image and a changed image, run Highlight Diff, then adjust the threshold until the highlighted areas match the review task.
FAQ
Image diff checker questions
Short answers for threshold, metrics, and local image difference review.
What threshold should I use in an image diff checker?
Start with 32 for general review. Use 8 for strict same-size screenshot checks, 18 for fine photo detail, and 64 for larger visible changes.
What creates many changed pixels in similar images?
Small alignment shifts, anti-aliasing, compression noise, color profile differences, and tiny lighting changes can all count as changed pixels. Use Overlay view and threshold adjustment to understand the result.
Are RMSE and PSNR better than changed pixel percent?
They answer a different question. Changed pixel percent shows how much area crossed the threshold, while RMSE and PSNR summarize RGB error across the comparable canvas.
Is my image data safe?
Yes. Image preview and pixel comparison run locally in your browser. The diff does not require a server upload, so your image data stays in the active browser session.